open3d学习笔记五【RGBD融合】
1.RGB图像+深度图像融合先建立RGBD图像。depth = o3d.io.read_image("path/to/depth.jpg") color = o3d.io.read_image("path/to/color.jpg") rgbd_image = o3d.geometry.RGBDImage.create_from_color_and_dept
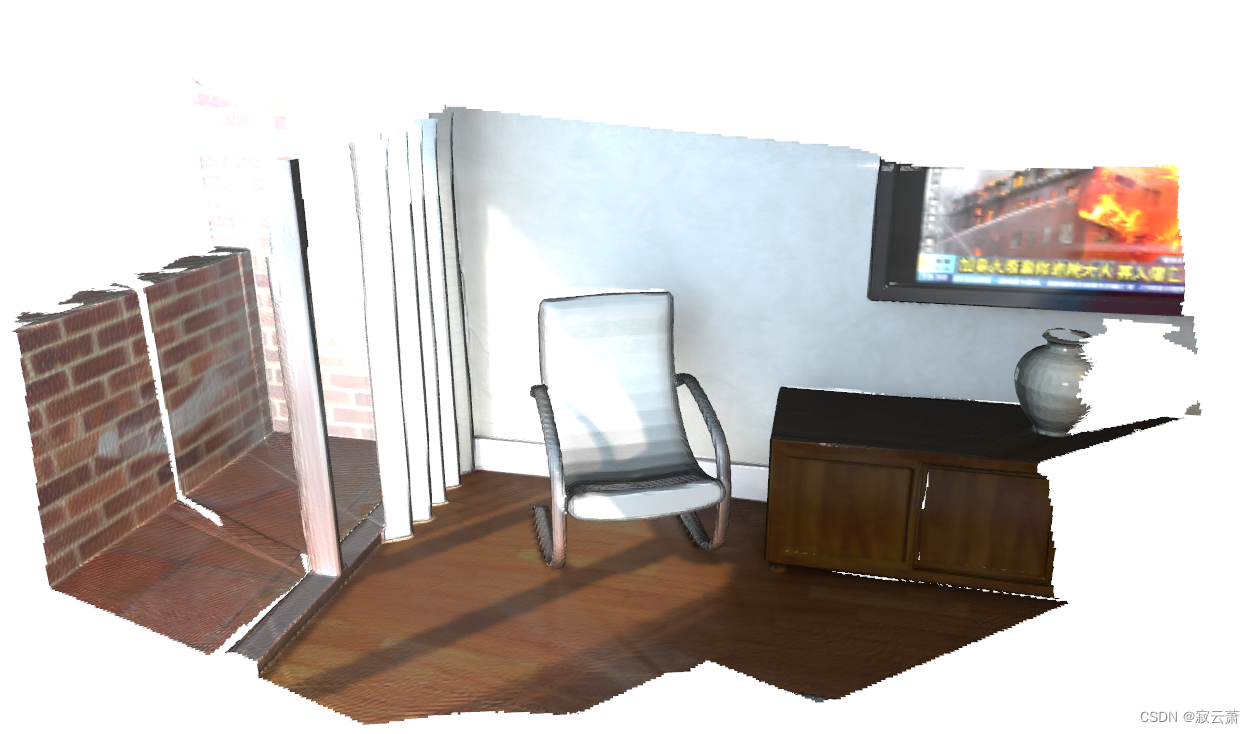
1.RGB图像+深度图像融合先建立RGBD图像。depth = o3d.io.read_image("path/to/depth.jpg") color = o3d.io.read_image("path/to/color.jpg") rgbd_image = o3d.geometry.RGBDImage.create_from_color_and_dept
Alpha shapes利用凸包搞得重建。import open3d as o3d mesh_ply = o3d.io.read_triangle_mesh("mode/bunny.ply") # 采样 pcd = mesh_ply.sample_points_poisson_disk(750) # 看一下凸包情况 hull, _ = pcd.compute_convex_h
一、补充一些小知识1、以mesh方式读取ply文件import open3d as o3d mesh = o3d.io.read_triangle_mesh("mode/Fantasy Dragon.ply") mesh.compute_vertex_normals()2.旋转矩阵三维模型使用R,T两个参数来变换,视图的空间坐标系建立:向上为z轴,向右为y轴,x轴指向屏幕前。
官方文档的读取函数函数参数open3d.io.read_azure_kinect_mkv_metadata(filename)open3d.io.read_azure_kinect_sensor_config(filename)open3d.io.read_feature(filename)open3d.io.read_file_geometry_type(读取文件的几何类型)( arg0 : s
第三方库下载pip install --user open3d注意,windows在cmd安装时可能会报错,如果是安装了anaconda的话在Prompt下用pip安装。不到万不得已不建议用conda的方式安装!因为conda安装的版本功能不完整。一个简单的例子import numpy as np import open3d as o3d #随机创造一些空间点 points = (np.rando